Material Requirements Planning (MRP) - A Comprehensive Guide
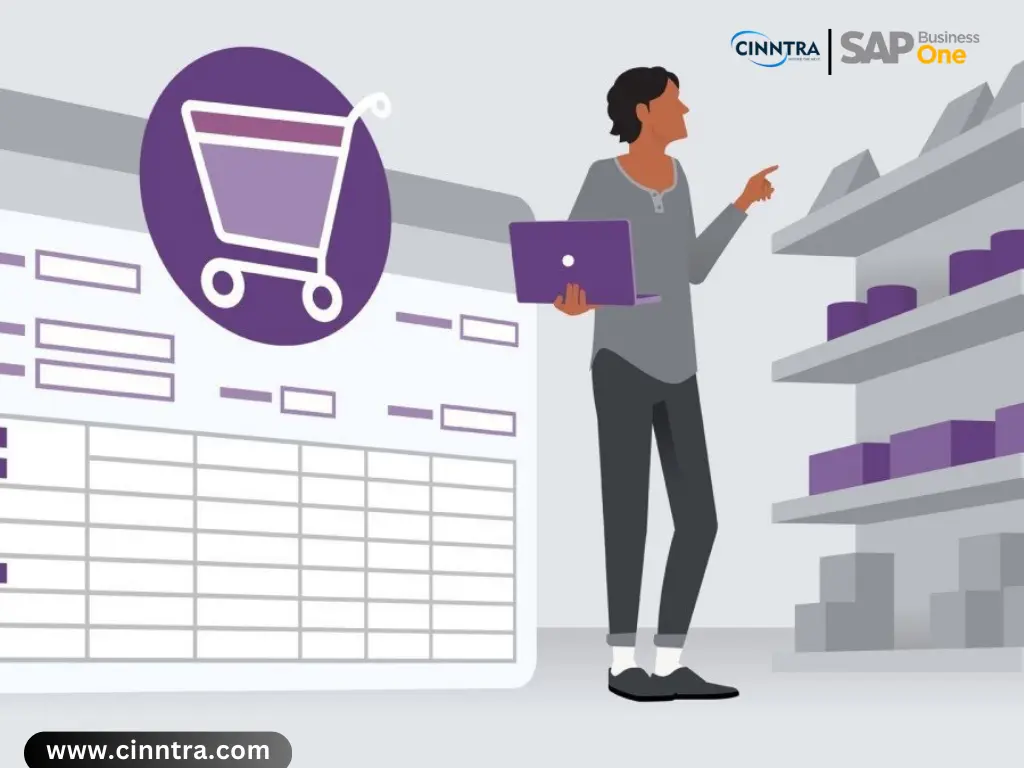
SAP B1's MRP (Material Requirements Planning) is a powerful analysis tool that automatically determines how much should be purchased and produced.
Say goodbye to guesswork, and let this powerful analysis tool automatically create purchase and production orders. MRP considers existing inventory, sales, purchase orders, production orders, and forecasts, empowering data-driven decisions.
You can even customize calculations, including minimum inventory levels, giving you ultimate control. Elevate your business game with SAP Business One's MRP and watch your productivity soar to new heights!
CALCULATION FACTORS
SAP Business One MRP Calculations are based on three factors
1. Initially Inventory: based on actual availability of stock in the warehouse.
2. Supply: based on already submitted requirements to the Vendor or production department.
3. Demands: Based on received orders from customers.
After completion of the above all factors we get the final requirement of materials.

WORKING PROCESS OF MRP:
For getting the actual requirements of the process through SAP Business One MRP, users have to follow the following steps.
1. Firstly, we need to enable the MRP concept in all materials.
Click on Module -> Inventory -> Item Master Data -> Planning Data.

After clicking on the planning tab you just need to fill in the planning method and procurement method accordingly.
Under this method, SAP covered the following methods.
1. Planning Methods:
a. MRP: If the user wants that particular item, it should be included in the MRP process, then the user has to select MRP.
b. None: If the user wants that particular Item, it should not be a part of the MRP process. After selection, these items can never be included in an MRP run.
2. Procurement Methods:
- Make: if you want MRP to generate recommendations for production orders. The user has to select make.
- Buy: this option will be used for MRP recommendations for purchase orders. This option is suitable mainly for the child items in the lowest level of the BOM or for items that are not part of a BOM.
You can also define Planning Data per Item Group in the Item Groups – Setup window (Administration -> Setup -> Inventory -> Item Groups -> General tab). After the selection of these in the group, the user does not need to fill in these details in Item Master.
MRP RUN PROCEDURE
The MRP Scenario is a set of parameters defined by the user which are applied during the MRP run. You can define several MRP scenarios for each company, but only one scenario can be used for each MRP run (MRP calculation of the production or purchase orders).
PROCEDURE
Main Menu -> MRP -> MRP Wizard
1. Add Scenario
Create a New Scenario. When you choose this option, two new fields appear:
a. Scenario Name – Specify a name for the new scenario. The name must be unique.
b. Description – Specify a description for the scenario.

To include an existing scenario from the list, choose Select Existing Scenario. A table appears that contains all the existing scenarios.
2. After filling this user needs to click ok Next following screen will be shown.

The user needs to fill in the following details in this scenario.
1. Start Date: Specify the first day of the first period. It should be a current or past date.
2. End Date: Specify the last day of the last period
3. View Data in period: Define the length of each period, displayed in the MRP Results window, in weeks, days, or months, depending on the selected option
4. Planning Horizon Length: The field is calculated automatically when the start date and the end date are specified.
5. Consider Holidays: MRP increases the lead time accordingly for the purchasing or production process when you do this. But for this user need to define holiday in SAP
6. Ignore Cumulative Lead Time: The setting of this checkbox is relevant for BOM items. If you select this checkbox, the lead time is taken from the Lead Time field defined in the item master data of the item
7. Display Preference: Through this, you can sort and display results accordingly.
3. After filling, the user clicks on the next tab, in this tab user will define the items for MRP.

To include all existing items, select the All Items radio button and choose Next to move to the next step. And if you want to run MRP for a particular item, then check selected items and select required items.
4. After filling, the user can click on the next tab, in this tab user will define the inventory definition source for MRP.

In the Run By section, select one of the following
Company - Consolidates existing inventory, demand, and supply and makes recommendations to the default warehouse
Warehouse - Calculates existing inventory, demand, and supply at the warehouse level and makes recommendations for each warehouse separately.
After filling this user can execute the report by clicking on the Run tab. Another user can click on the next tab.

5. In this step, you specify the data sources to be taken into consideration, the documents to be included in the MRP run, and the Recommendations area settings.
6. After following, all process results will show on your screen.


0 Comments